Pain Worse with Arching Back
7 Flexion Exercises
All exercises begin lying on your back. Stay within a pain-free range throughout.
Exercise 1: Pelvic Tilt
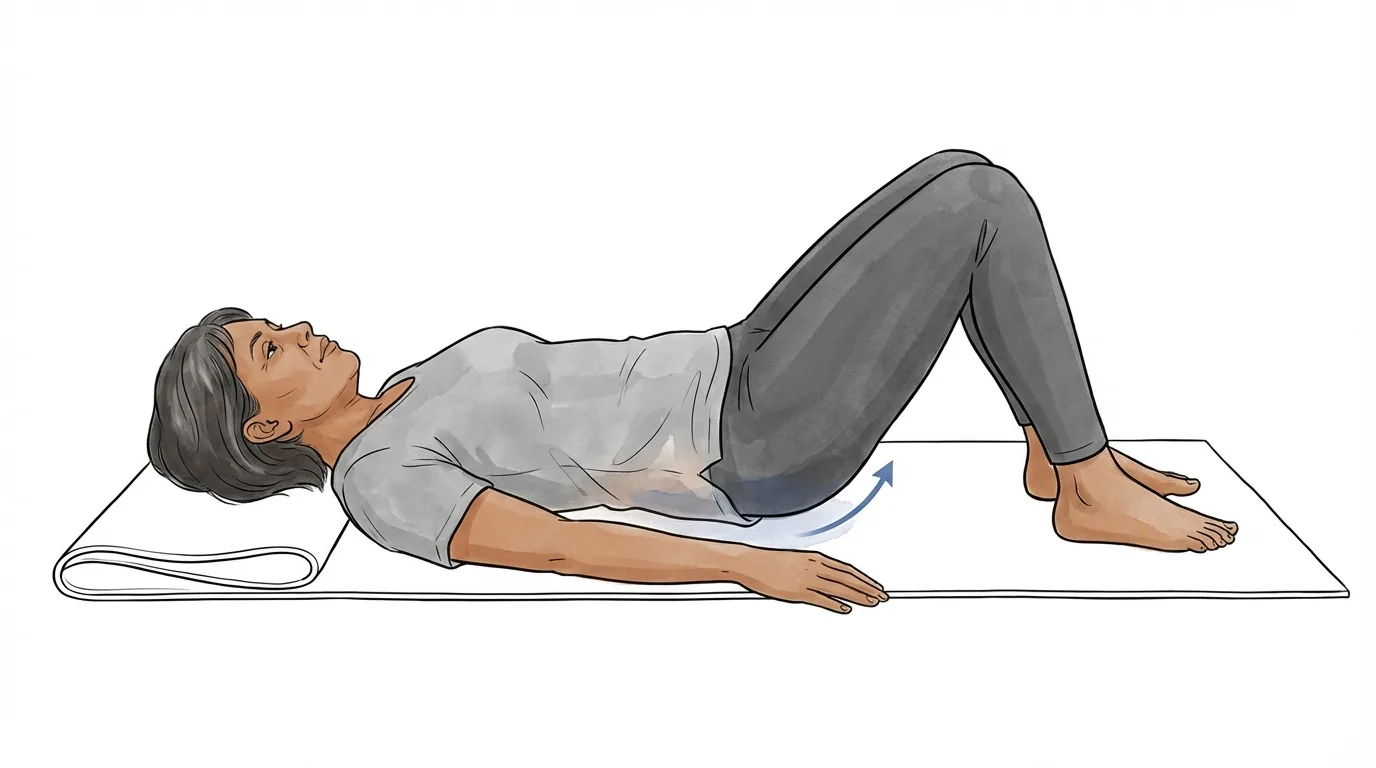
Purpose: Reduce the arch in your lower back and gently engage the abdominal muscles — this is the foundation for everything else.
- Lie on your back with both knees bent and feet flat on the floor
- Imagine drawing your belly button toward your spine, gently tightening your abdominals
- Press your lower back into the floor, flattening the gap between your back and the surface
- Hold for 5 seconds, then relax
- Repeat 10 times
Tip: You don't need to lift your hips off the floor. Simply flatten your lower back against the surface. This is the starting point for all the exercises that follow.
Exercise 2: Single Knee-to-Chest
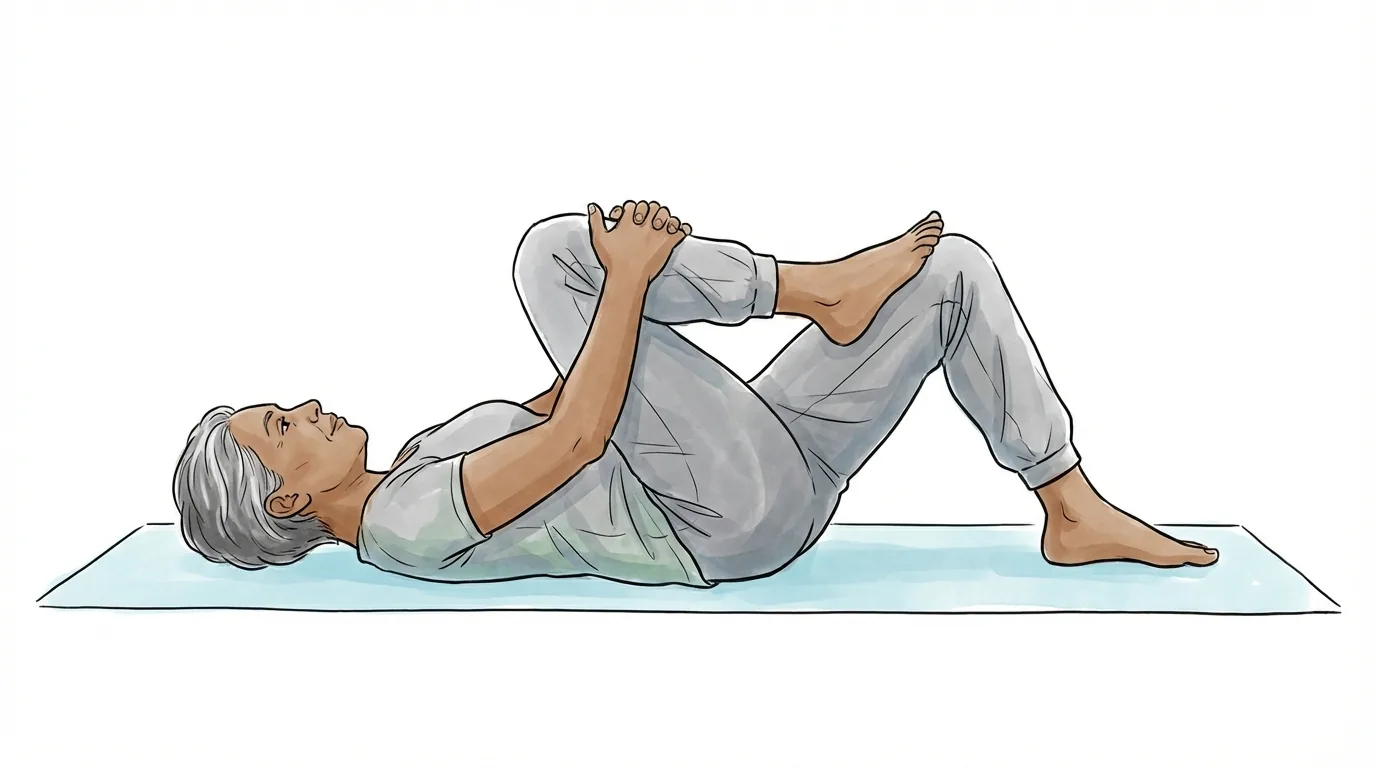
Purpose: Gently round the lower back and stretch the muscles around the spine.
- Lie on your back with both knees bent
- Clasp both hands around one knee and draw it toward your chest
- Keep the other foot flat on the floor with the knee bent
- Hold where you feel a comfortable stretch for 15–20 seconds
- Slowly return and repeat on the other side
- 5 times each side
Tip: Don't force the knee into your chest. Stop where it feels good — a gentle stretch, not pain.
Exercise 3: Double Knee-to-Chest
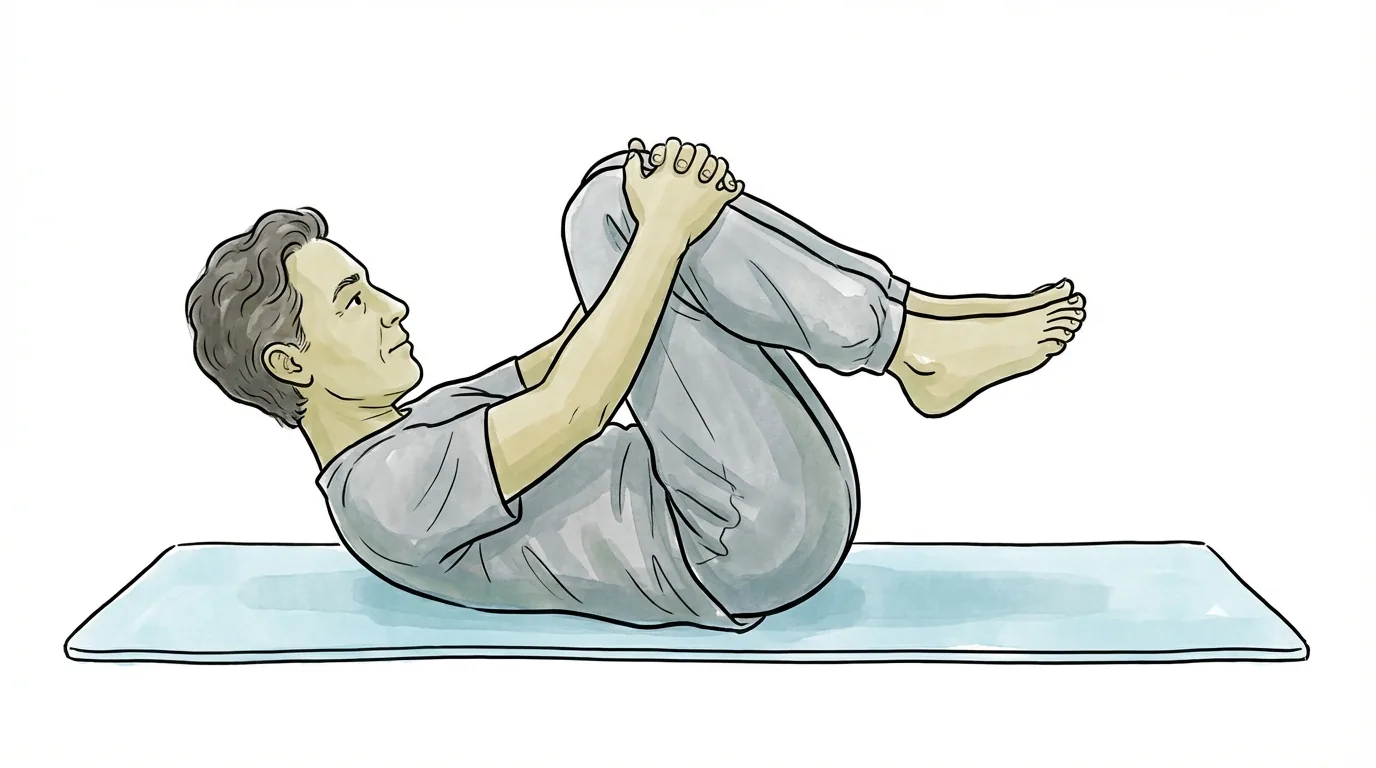
Purpose: Provide a deeper stretch to the entire lower back.
- Lie on your back with both knees bent
- Bring both knees up and clasp your hands around them, drawing them toward your chest
- Feel your lower back gently lifting and rounding away from the floor
- Hold for 15–20 seconds
- Slowly return
- Repeat 5 times
Tip: You don't need to lift your head. Focus on the rounding sensation in your lower back. Some people find it soothing to rock gently side to side in this position.
Exercise 4: Partial Curl-Up
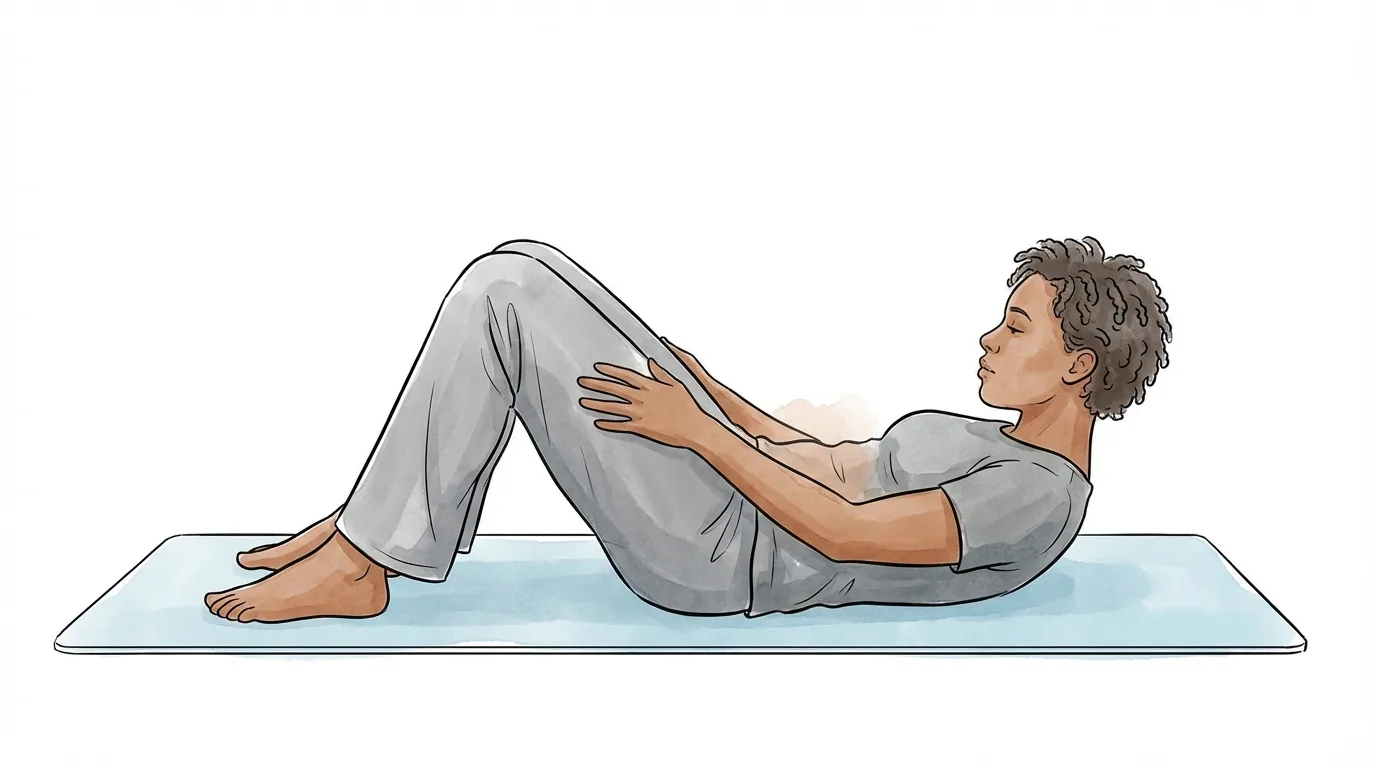
Purpose: Strengthen the abdominal muscles without putting strain on the lower back.
- Lie on your back with both knees bent
- Place your hands on your thighs
- Tuck your chin and slowly raise your head and shoulders
- Curl up until your hands reach the area around your knees (you don't need to sit all the way up)
- Hold for 5 seconds, then slowly lower back down
- Repeat 10 times
Tip: This is not a full sit-up. Lifting your shoulder blades just off the floor is enough. Avoid straining your neck — let your abdominals do the work.
Exercise 5: Hamstring Stretch
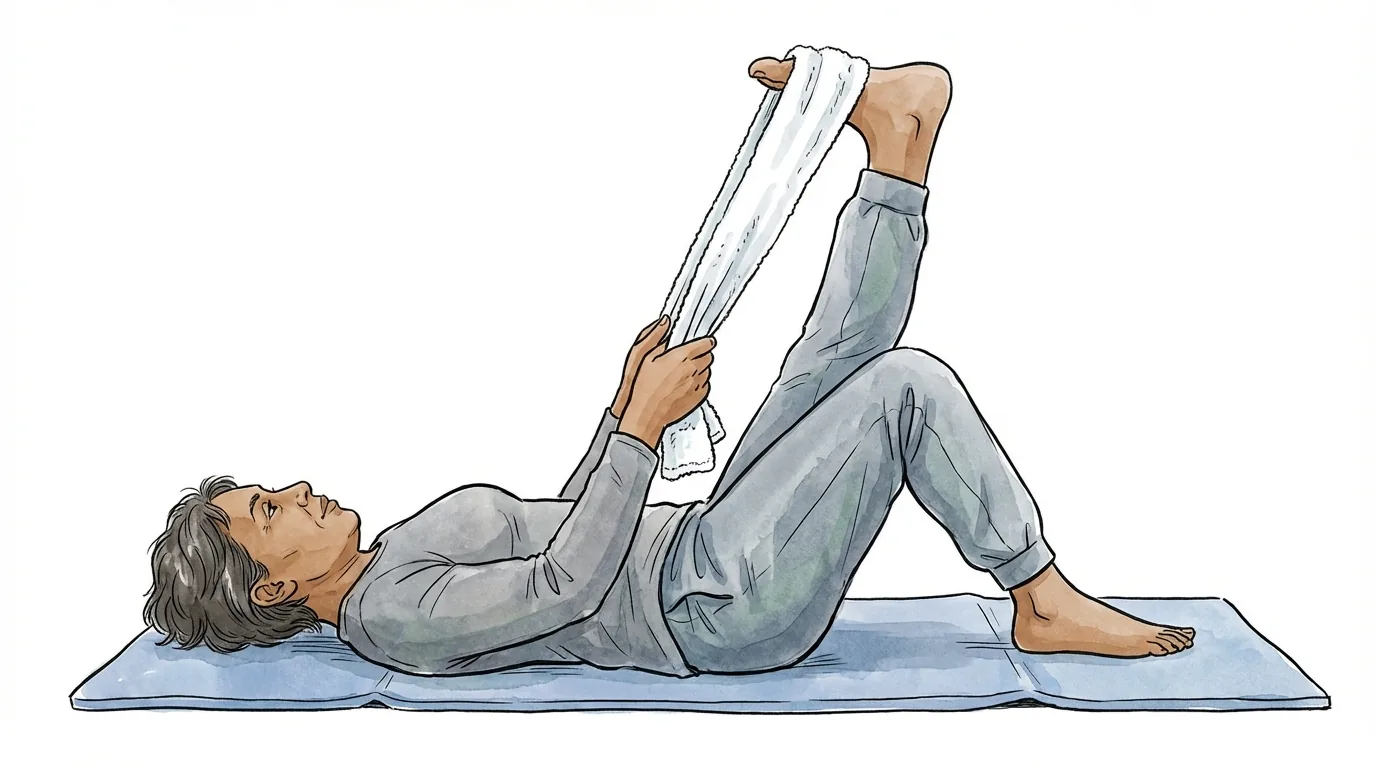
Purpose: Loosen the back of the thighs to improve pelvic mobility.
- Lie on your back with both knees bent
- Straighten one leg upward
- Loop a towel around the sole of your foot and hold both ends
- Gently pull the towel toward you until you feel a stretch along the back of your thigh
- Hold for 20–30 seconds
- Slowly return and repeat on the other side
- 3 times each side
Tip: It's fine if your knee stays slightly bent. As long as you feel a stretch in the back of your thigh, you're doing it right. Aim for a comfortable pull, not pain.
Exercise 6: Hip Flexor Stretch (Iliopsoas Stretch)
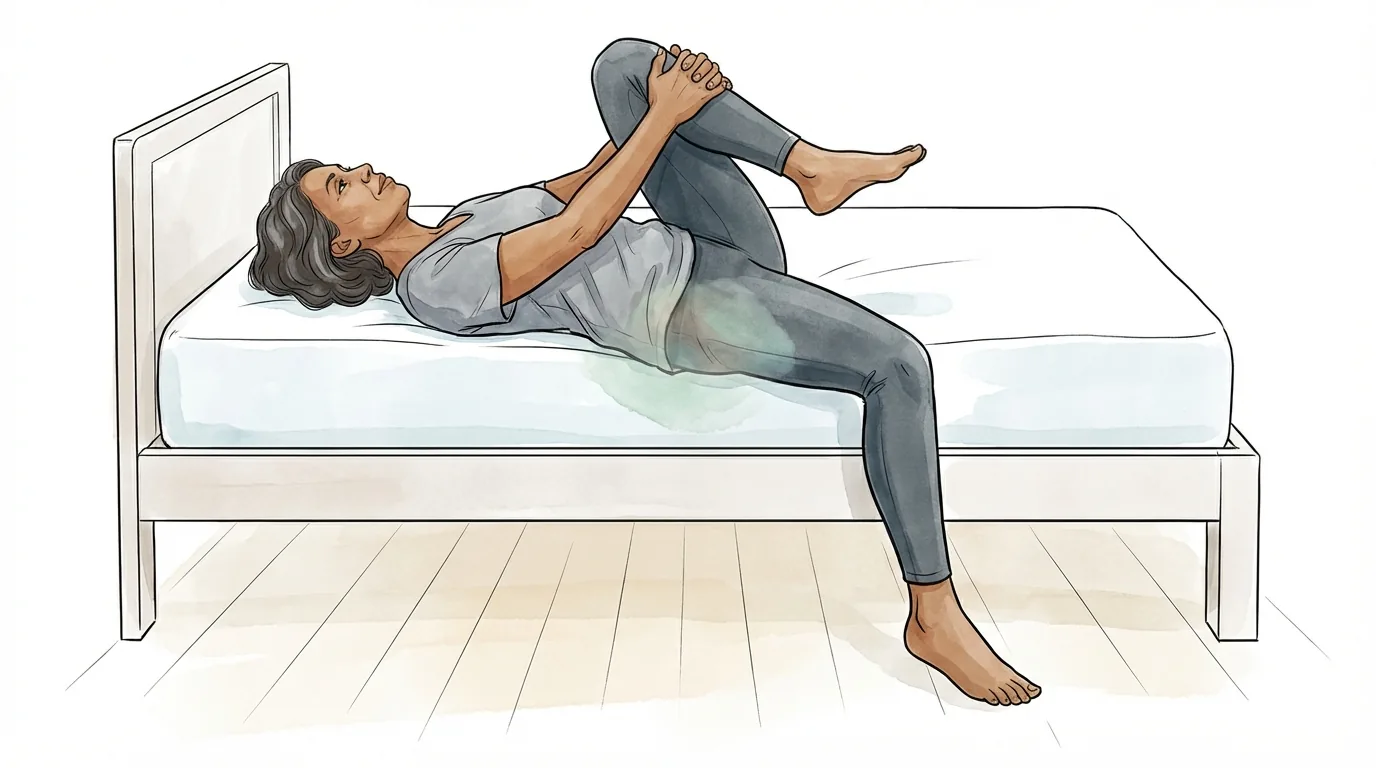
Purpose: Release tightness in the front of the hip, which helps prevent excessive arching of the lower back.
- Lie on your back at the edge of a bed
- Hug both knees to your chest
- Let one leg hang down off the edge of the bed
- Feel the stretch along the front of the thigh on the hanging leg
- Hold for 20–30 seconds
- Slowly return and repeat on the other side
- 3 times each side
Tip: You can also do this stretch seated. Sit at the front edge of a chair and extend one leg behind you to achieve a similar stretch.
[!note] When the front of the hip is tight, it pulls the lower back into an arched position while standing. Releasing this tightness can reduce the load on your spine.
Exercise 7: Supported Squat
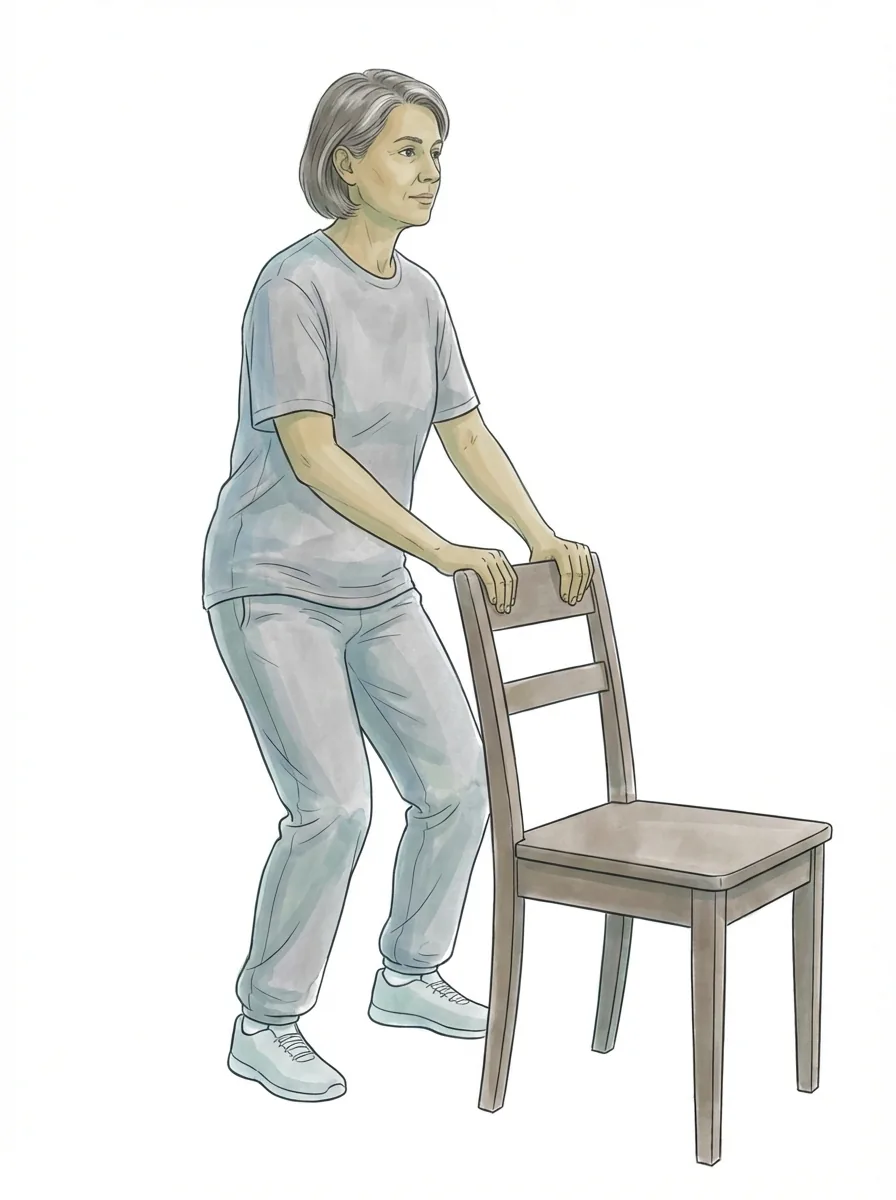
Purpose: Build leg and core strength while incorporating a forward-flexion movement.
- Stand with your feet shoulder-width apart
- Hold onto the back of a chair or a table for support
- Keeping your back straight, slowly lower yourself into a squat
- Go down to a comfortable depth, hold for 2 seconds
- Slowly stand back up
- Repeat 10 times
Tip: Start with a shallow squat — there's no need to go deep. Keep your knees from traveling too far past your toes, and keep your heels on the floor. If your balance is uncertain, always hold onto something sturdy.